You are looking at a stucco wall in South Florida, and something feels off. Maybe it is cracks running from the window corners, chalky white streaks near the base, or a soft patch that gives a little when you press it.
A repaint is coming, but rolling fresh paint over damaged stucco is asking for peeling, bubbling, and another bill in a couple of years. Repairing stucco the right way before painting is what separates a job that lasts five years from one still holding strong at fifteen.
With constant rain, heat, salt air, and UV working on the walls, prep is not optional here. The best coating in the world cannot save a wall that was patched over trapped moisture or a crack that was hiding a bigger problem. Paint performance starts before the can is even open.
So how do you tell a cosmetic blemish from a warning sign, prep and patch correctly, pick the right repair materials, rebuild more serious damage in layers, and prime those repairs so the next coat actually holds? Here is the full sequence.
A thin crack is not always a problem, but a soft spot behind it is a different story. The difference between a harmless blemish and a real issue comes down to size, location, pattern, and what is happening underneath.
South Florida's climate is hard on stucco. Daily temperature swings make walls expand and contract, humidity feeds mildew on and inside the surface, and salt air corrodes the metal lath and fasteners hidden underneath. These forces stack up to create problems you rarely see in drier places, which is one of the reasons South Florida walls take such a beating.
You will see hairline cracks at window and door corners, stair-step cracks along block mortar joints, spalling where chunks break off, and efflorescence, the white powdery residue that means water is moving through the wall. Mildew stains can look cosmetic, but if they return quickly after cleaning, moisture is probably trapped inside.
Most cracks under 1/16 of an inch come from normal shrinkage or minor movement. They show up often in the first year after stucco goes on, usually without a set pattern, and they do not grow over time.
If a crack is stable, shallow, and not near a window, door, or pipe, it is probably safe to fill and paint. Mark the ends with a pencil and watch it for a few weeks. If it holds still, it is most likely cosmetic.
Water getting behind stucco is the most expensive problem you can have. Watch for these:
If a moisture meter reads over 20 percent inside a stucco wall, you likely have a water problem. Florida's humidity makes this tricky, so compare readings against what is normal for your building.
If several warning signs show up, do not guess. Call an inspector or a contractor who knows what to look for. EIFS walls are especially risky, since moisture can rot the inside without showing outside. A pro checks with probes, moisture meters, and sometimes core samples.
Skipping this on a condo or multi-unit building can mean painting over hidden rot. It is far cheaper to fix once and paint once than to do the whole job twice. Once you know what you are dealing with, you can prep each area for repair.
Most failed patches in Florida trace back to one thing: bad prep. Skip the cleaning, leave loose material, or trap moisture, and you are setting up early failure in this climate.
Start by removing all loose stucco around the damage. Use a wire brush, chisel, or the edge of a drywall knife to chip away anything crumbly or hollow-sounding, working outward until you reach solid stucco in every direction.
Scrape off any peeling, bubbling, or chalky paint within a few inches of the repair. Mildew, dirt, and efflorescence all have to go. A stiff brush handles light buildup; for heavier grime and mildew, a diluted trisodium phosphate solution cuts through it.
Pressure washing is common in Florida, but be careful near damaged stucco. Too much pressure forces water behind the wall through cracks and makes things worse. Use a 25- to 40-degree fan tip and stay at least a foot off the surface.
Then let the wall dry completely; that can take two or three days depending on the weather. Check with a moisture meter, and once the surface is under 15 percent, you are ready to patch. Patching over a wet wall just locks the problem in.
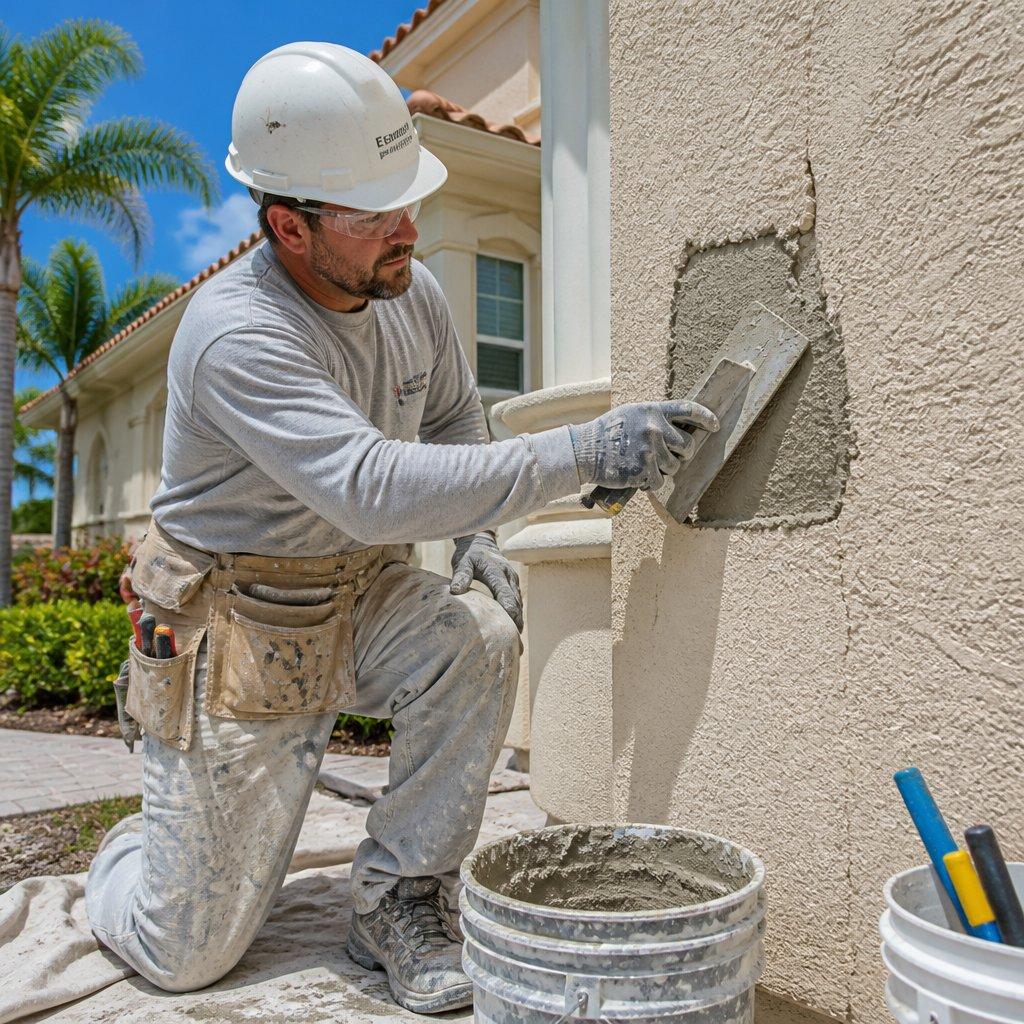
Clean, squared edges help a patch hold. Use a flat trowel or drywall knife to slightly undercut the edges of the repair so the patch has something to grip. Dampen those edges with a spray bottle before patching, because dry stucco pulls water out of the mix too fast in the heat. Keep that spray bottle handy throughout.
Stucco dust can contain silica, and in older homes possibly lead, so wear goggles, an N95 mask or better, and gloves when breaking up or sanding. If the building predates 1978, follow the EPA lead-safe renovation rules for prep that disturbs old paint.
Lay down a drop cloth and keep your tools together: a finishing trowel, rubber float, brick trowel, drywall hawk, mixing bucket, and spray bottle. Once everything is clean and dry, you can choose a repair method.
The size and depth of the damage tell you which fix to use. Choose wrong, and you waste time and money.
For hairline cracks and shallow splits under 1/8 inch, a pre-mixed stucco patch and a putty knife do the job. Push the compound in, smooth it, and let it cure. These are quick cosmetic fixes, not structural rebuilds. In South Florida, choose exterior patch compounds that stay flexible; rigid fillers just crack again after a season or two.
Elastomeric caulk is ideal for cracks at joints and transitions, like where stucco meets a window or door, because it moves as the building shifts. Run a bead, tool it smooth, and let it set before painting. For chips and divots up to about half an inch deep, press a pre-mixed stucco patch into the dampened spot with a finishing trowel and match the texture.
If the damage is more serious than half an inch or covers a bigger area, rebuild in layers: scratch coat, brown coat, finish coat, each cured before the next. This comes up often on South Florida condos where years of sun and humidity have eaten into the stucco. Skip a layer or rush the cure, and the patch will not survive the next round of heat and storms.
If you have taken stucco down to the sheathing or framing, you are rebuilding the wall from the weather barrier out. Every layer matters, and skipping one invites trouble.
Any time you expose the substrate, you need a new weather barrier. Grade-D building paper goes on first, overlapped from the bottom up so water sheds instead of sneaking behind. Two layers are standard over wood-framed walls.
Next, attach galvanized metal lath over the paper with roofing nails or screws that reach at least 3/4 inch into the framing, holding the lath just off the paper so the scratch coat can grip behind it. On concrete block, you usually skip lath, since stucco bonds right to the masonry.
Mix traditional stucco in a wheelbarrow with a mortar hoe: one part Portland cement, one part hydrated lime, and three to four parts sand. Add water slowly until it holds its shape on the trowel without slumping.
Spread the scratch coat about 3/8 inch thick, and while it is still wet, score it horizontally so the next layer grips. Let it cure for at least 24 to 48 hours, misting it a couple of times a day in Florida's heat to slow the cure and prevent cracks. Then apply the brown coat to the same thickness, level it with a straight edge, and give it at least 24 hours of moist curing.
The finish coat is where the repair blends in or stands out. This layer is thinner, usually 1/8 to 1/4 inch, and matching the existing texture is the trickiest part. In Florida, you will see smooth trowel, skip trowel, lace, and sand float finishes. Practice the pattern on a scrap board before touching the wall, and grab a rubber float or finishing trowel depending on the look.
Let fresh stucco cure at least 28 days before priming or painting. This is necessary, not just cautious. Cement-based stucco releases moisture and alkalinity as it sets, and painting too soon traps both, which causes blistering, peeling, or efflorescence under the coating.
In the rainy season, the cure can take even longer, so use a moisture meter and look for a reading under 12 percent before priming. Rushing this step is one of the most common reasons paint fails early on stucco repairs, which is why the primer and paint choices matter so much.
Fresh patches absorb coatings differently than older stucco, so the right primer and technique make the difference between a uniform finish and a blotchy one.
An uncured patch still holds free alkalinity from the Portland cement. Paint over that and the alkalinity can react with the coating, causing efflorescence, peeling, or discoloration that may mean stripping and recoating. Confirm the cure with a pH test or moisture meter before priming. Even after a month, a patch can look slightly darker or lighter than the wall; proper priming evens out absorption so the topcoat looks uniform.
Always use a masonry primer on new or repaired stucco. It seals the surface, blocks leftover alkalinity, and gives the topcoat a solid base. Use a primer made for cementitious surfaces, since general-purpose primers will not hold up here. Brush or roll a full coat, working it into the texture, and prime in the cooler early morning. If the wall is over 90 degrees, the primer can dry too fast to soak in.
The topcoat depends on the look you want and how much the wall moves. Common choices for repaired stucco in South Florida include:
Patches almost always look a little different until you coat the whole wall, so on condos and townhomes, plan to repaint each full wall corner to corner rather than spot-touching. Stick with the same product, same batch, and same application method across the elevation. Consistent color across many South Florida homes really needs factory-tinted control, because under this sun even small shade differences stand out. Getting the coating right is only part of it; planning the repaint protects the investment.
The window between finishing a repair and applying the first coat is where projects set up for success or future headaches. What you confirm now shapes the exterior for years.
Before sending specs to contractors, walk the building and confirm every repair has cured and passed moisture testing, and that patches match the nearby texture closely enough for a uniform finish. Document the repair scope, materials, and cure dates. The bid package should spell out the primer, topcoat, number of coats, and application method, and ask for stucco maintenance documentation too. If a contractor pushes back on these details, treat it as a red flag.
If a patch cracks or fails within a year, most paint warranties will not cover it, even if the coating is fine elsewhere. Warranty coverage for many coatings made for a tropical climate requires proof of proper surface prep and cure times. Solid repair before painting lowers long-term cost. A contractor who cuts corners saves money now and costs double later, so treat repairs as preventative maintenance, not just an expense.
Once repairs are done, choosing the right primer and topcoat for your building, exposure, and substrate is what really drives how long the paint lasts. This is where a free consultation with a local manufacturer pays off. UCI Paints offers color advice, climate-tested product specs, and referrals to licensed contractors who know what South Florida stucco faces. Call (954) 581-6060 or contact the Fort Lauderdale team to talk it through.
For hairline cracks, use a pre-mixed stucco patch, a putty knife, and a spray bottle to dampen the area. For bigger holes, you need a brick trowel, finishing trowel, drywall hawk, wire brush, mixing bucket, and a traditional stucco mix of Portland cement, lime, and sand. If the damage reaches the substrate, add building paper, galvanized metal lath, and roofing nails.
Dampen the edges of the existing stucco before patching so it does not pull moisture from the fresh mix. Undercut the patch edges slightly for a better grip. In Florida's heat, mist the patch a few times a day for the first couple of days to slow the cure and help prevent shrinkage cracks.
Hairline cracks under 1/16 inch that do not change over a few weeks are usually cosmetic, so fill and paint them. Cracks wider than 1/8 inch, diagonal cracks, soft wall spots, or efflorescence that returns after cleaning can mean water is getting in. Use a moisture meter inside the wall, and if it reads over 20 percent, call a stucco inspector.
Use elastomeric caulk where stucco meets the door or window frame, since those joints move the most. For the stucco around the opening, use a flexible patch compound rather than rigid cement. Always check the original flashing before closing the repair, because failed flashing will let water back in no matter how good the patch is.
Small crack repairs might run $5 to $10 per linear foot with pre-mixed products. Larger multi-coat repairs can cost $8 to $20 per square foot depending on depth, access, and whether building paper or lath needs replacing. On big HOA jobs, scaffold setup, the number of wall penetrations, and total damaged area are the main cost drivers.
Pre-mixed stucco patch is convenient for small, shallow fixes and single-unit jobs. For repairs deeper than half an inch or larger than a few square feet, mixing your own traditional stucco gives more control over strength and curing. It is also cheaper per square foot at scale and, when cured properly, stands up better to South Florida's sun and rain.
