Acrylic enamel paint is one of the most popular choices for both interior and exterior surfaces, and for good reason. It dries to a hard, durable finish that resists moisture, stains, and everyday wear. However, achieving that smooth, professional-looking result requires more than just opening a can and picking up a brush. With the right preparation, tools, and technique, anyone can apply acrylic enamel paint like a seasoned pro.
Before diving into application tips, it helps to understand what makes acrylic enamel paint unique. Unlike standard latex paints, acrylic enamel cures to a harder shell, making it ideal for high-traffic surfaces like trim, cabinets, doors, and furniture. It also offers excellent color retention and is easier to clean than many other paint types. These qualities make it a go-to option for homeowners and professionals alike who want lasting, attractive results.
Surface preparation is the single most important step in any paint project, and acrylic enamel is no exception. Skipping this stage almost always leads to peeling, bubbling, or an uneven finish down the road. Proper prep ensures the paint bonds correctly and lasts as long as possible.
Follow these steps before you pick up a brush or roller:
Taking the time to prep correctly will save you significantly more time and effort in the long run.
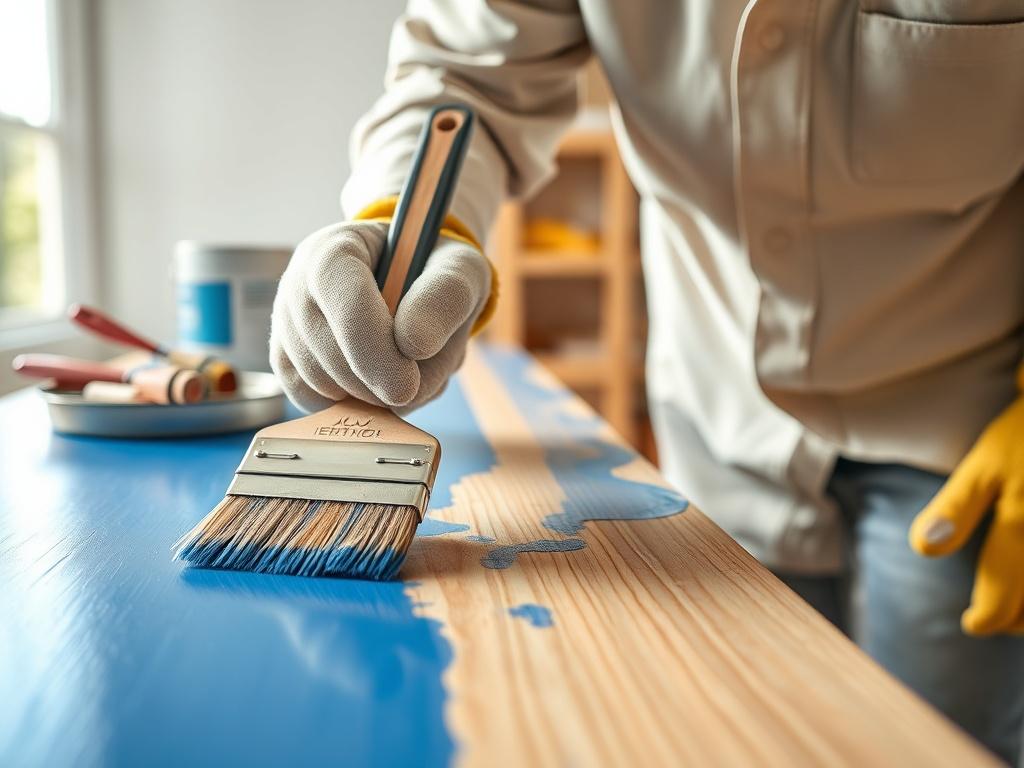
The tools you use matter just as much as the paint itself. For acrylic enamel, a high-quality synthetic bristle brush is generally the best choice for cutting in edges, trim work, and detailed areas. Synthetic bristles perform well with water-based paints and hold their shape throughout the application process. For larger, flatter surfaces, a short-nap roller, typically between 1/4 inch and 3/8 inch, will help you achieve a smoother finish with fewer texture marks.
Avoid using low-quality brushes or rollers, as they tend to leave behind bristles, lint, or uneven coverage. Investing in the right applicators makes a noticeable difference in the final result and can even reduce the number of coats needed.
One of the most common mistakes when applying acrylic enamel is putting on too much paint at once. Thick coats take longer to dry, are more prone to drips and sagging, and often result in an uneven finish. Instead, apply thin, even coats and allow each one to dry fully before adding the next. Most projects will require two to three coats for complete, uniform coverage.
Work in long, smooth strokes and maintain a wet edge to avoid lap marks. If you are using a roller, finish each section with light, vertical strokes to minimize texture. Always follow the drying times recommended on the paint label, as rushing between coats can compromise the final finish.
Once your final coat is applied, resist the urge to touch or disturb the surface while it cures. Acrylic enamel may feel dry to the touch within a few hours, but full hardness typically takes several days. Lightly sanding between coats with a fine-grit sandpaper and wiping clean before the next application can also help you achieve that glass-smooth finish professionals are known for. Proper ventilation during and after application will support even drying and improve the overall durability of the finish.
At UCI Paints, we know that the right paint and the right advice can make all the difference in your project's outcome. Our team is proud to offer a wide selection of premium acrylic enamel paints and professional-grade supplies to help you achieve a flawless finish every time. Whether you are tackling a small touch-up or a full-scale renovation, we are here to guide you through every step of the process. Reach out to our team at<a href="https://www.ucipaints.com/contact-uci-paints-fort-lauderdale-florida"> UCI Paints today and let us help you achieve the professional results you deserve.
