Enamel paint is known for its smooth finish, durability, and resistance to moisture, stains, and wear. It’s a popular choice for doors, trim, cabinets, metal surfaces, and high-traffic areas—but achieving professional-looking results requires the proper preparation and technique. Whether you’re a DIY beginner or tackling your first enamel paint project, following the correct steps will make a noticeable difference in the outcome.
This guide walks you through using enamel paint step by step, from surface preparation to drying time, to help you achieve a long-lasting, polished finish.
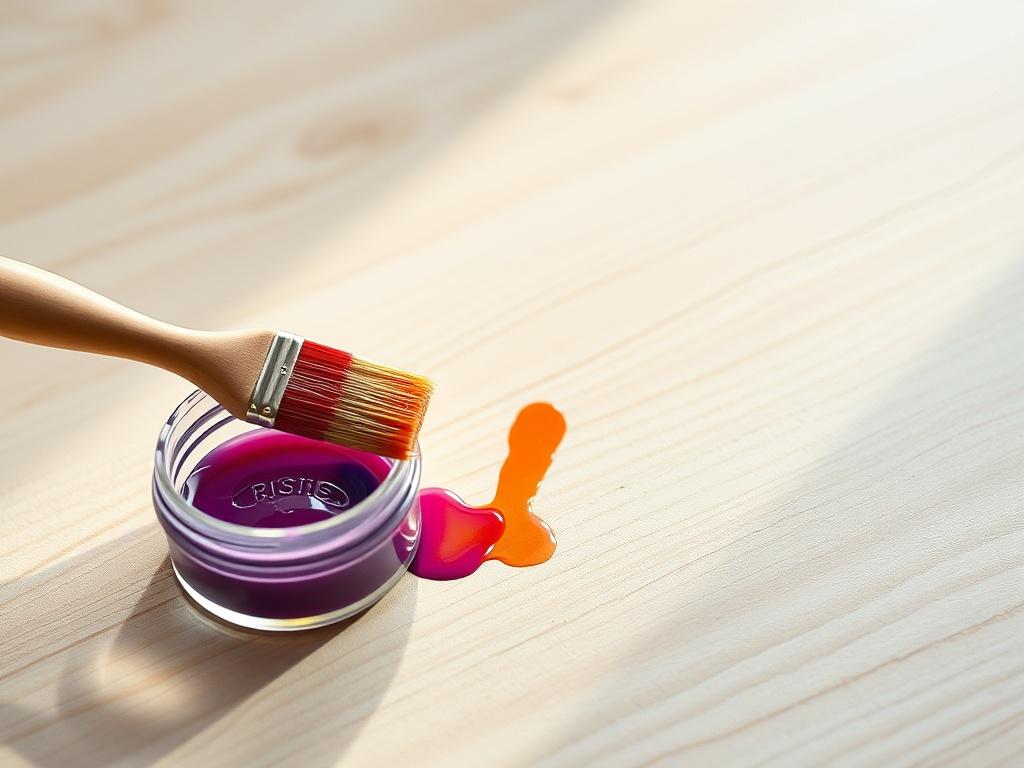
Before you begin, select the appropriate enamel paint for your project. Enamel paints are available in oil-based and water-based (acrylic) formulas, each with different drying times and cleanup requirements. Consider the surface you’re painting—wood, metal, or masonry—and whether the project is interior or exterior.
High-quality enamel paint offers better flow, stronger adhesion, and a smoother finish, which is especially important for detailed or high-touch surfaces.
Surface preparation is one of the most critical steps when using enamel paint. Start by cleaning the surface to remove dirt, grease, dust, or residue. For previously painted surfaces, check for peeling or flaking paint and remove any loose areas.
Next, sand the surface lightly to create a smooth, slightly rough texture that helps the paint adhere properly. Wipe away sanding dust with a clean, damp cloth, and allow the surface to dry completely before proceeding.
Skipping preparation can lead to uneven coverage, poor adhesion, and premature peeling.
Priming helps enamel paint adhere better and ensures a consistent finish. A primer is essential when painting bare wood, metal, or surfaces that will receive stains or color changes.
Choose a primer compatible with your enamel paint type and apply it evenly per the manufacturer’s instructions. Allow the primer to dry thoroughly before applying enamel paint. Proper priming reduces the number of coats needed and improves durability.
Using the correct tools can significantly affect your results.
Each method has its benefits, but the key is to use clean, high-quality tools to avoid streaks and imperfections.
One of the most important rules when working with enamel paint is to apply multiple thin coats rather than one thick one. Thin coats dry more evenly, reduce drips and runs, and create a smoother finish.
Start by stirring the paint thoroughly. Apply the first coat using long, consistent strokes, maintaining even pressure. Avoid overworking the paint, as this can cause brush marks or uneven texture.
Allow each coat to dry completely before applying the next. Most projects require two to three thin coats for optimal coverage and durability.
Drying time varies depending on the type of enamel paint, humidity, and temperature. While paint may feel dry to the touch within hours, complete curing can take several days.
Avoid touching, cleaning, or placing heavy use on the painted surface until it has fully cured. Rushing this step can lead to fingerprints, dents, or damage to the finish.
Once the final coat has cured, inspect the surface for any imperfections. Lightly sand small bumps or drips if needed and apply touch-ups carefully. A smooth, even finish is the result of patience and attention to detail.
Using enamel paint doesn’t have to be complicated. With the proper preparation, tools, and techniques, you can achieve a durable, high-quality finish. At UCI Paints, we offer premium enamel paints formulated for consistent application, excellent coverage, and long-term performance.
Whether you’re a DIY homeowner or a professional painter, UCI Paints has the products and expertise to support your project from start to finish. Contact UCI Paints today to learn more about our enamel paint solutions and find the right product for your needs.
